After 12+ WordPress-to-Next.js migrations at ValeoFX, I've learned that success comes down to preparation — not code. The actual Next.js build is the easy part. The hard part is accounting for every URL, every image, every plugin dependency, and every SEO signal before you flip the DNS switch.
This checklist is what we walk through with every client before we write a single line of Next.js. Use it as a working document. Tick each item off before moving to the next phase.
Related deep-dive: WordPress to Next.js: Lessons from 12 Client Migrations.
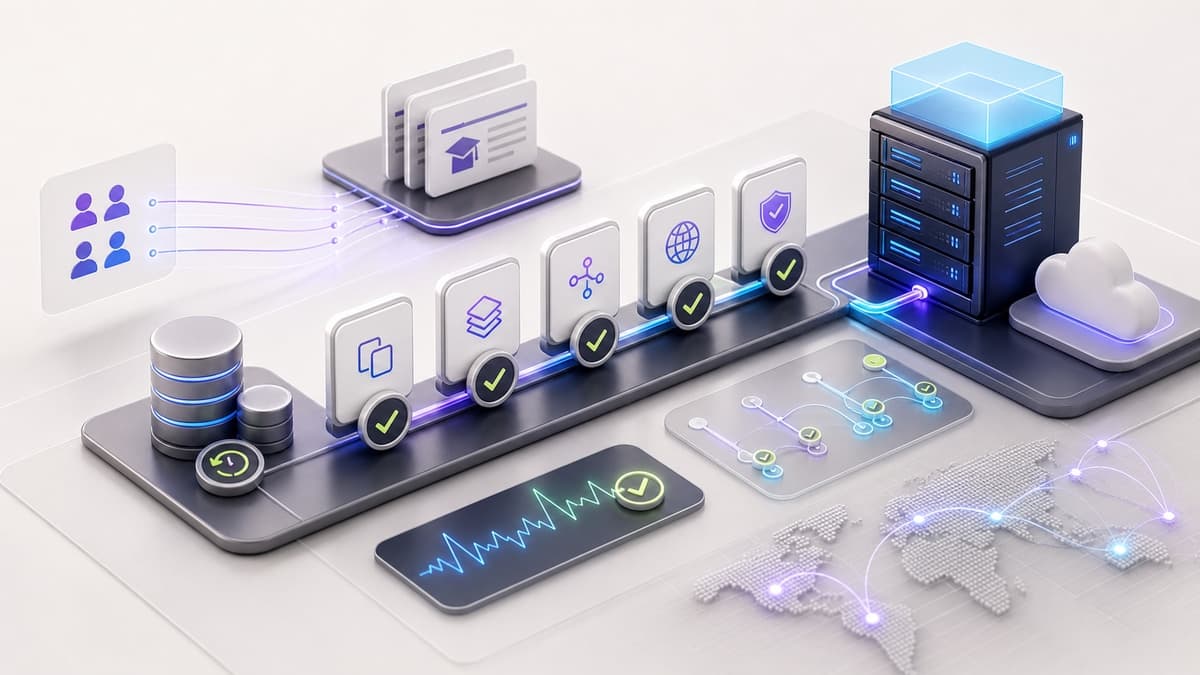
Pre-Migration Audit
The most expensive mistakes happen when teams skip the audit and discover missing content or broken URLs after launch. Block out time for this before writing any code.
- Export a full content inventory from WordPress: posts, pages, custom post types, taxonomies, and media attachments
- Crawl the live site with a tool like Screaming Frog or Sitebulb — capture every URL that returns a 200, including paginated archives and tag pages
- Document every plugin in use and classify each as: (a) needs custom rebuild in Next.js, (b) replaced by a SaaS/API, or (c) no longer needed
- Note which pages are driven by dynamic query parameters, such as legacy post IDs or category filters, because these need explicit redirect rules
- Pull a list of your top-traffic pages from Google Search Console and Google Analytics — protect these URLs above all others
- Record current Core Web Vitals scores as a baseline for post-launch comparison
- Identify any third-party integrations: forms, payment processors, booking systems, live chat widgets
Not sure where to start? The ValeoFX migration planner walks you through a structured audit in about 15 minutes.
Choosing Your Content Strategy
The right content layer depends on who edits the site and how often content changes. There is no universal answer — we have shipped all three approaches across our 12 migrations.
- Headless WordPress — best when clients have existing WordPress editors who won't switch workflows. WordPress stays as the CMS while the new site handles the frontend. Confirm the content API returns your post types correctly before committing to this path.
- MDX files in the repository — best for developer-managed content like documentation, tutorials, and blogs where content updates go through a pull request. Straightforward to maintain, zero CMS infrastructure cost.
- Headless CMS — best when you need structured content modelling, asset pipelines, and real-time preview. Higher upfront setup cost, but scales well for large content teams.
- Confirm your chosen strategy supports your content types (post, page, CPT, WooCommerce product, etc.) before you migrate a single piece of content
Setting Up the Next.js Project
A clean scaffold prevents refactoring pain later. Do not rush this phase.
- Bootstrap with the official Next.js starter using App Router and TypeScript
- Establish the folder structure before adding pages:
- routes and layouts
- shared UI components
- data fetching utilities, content helpers, and integration clients
- editorial content if using file-based publishing
- static assets
- Configure image domains, redirect stubs, and any required headers
- Set up ESLint, Prettier, and Husky early — consistent formatting before content comes in saves code review time
- Add environment variables for CMS API keys, preview secrets, and any third-party integrations
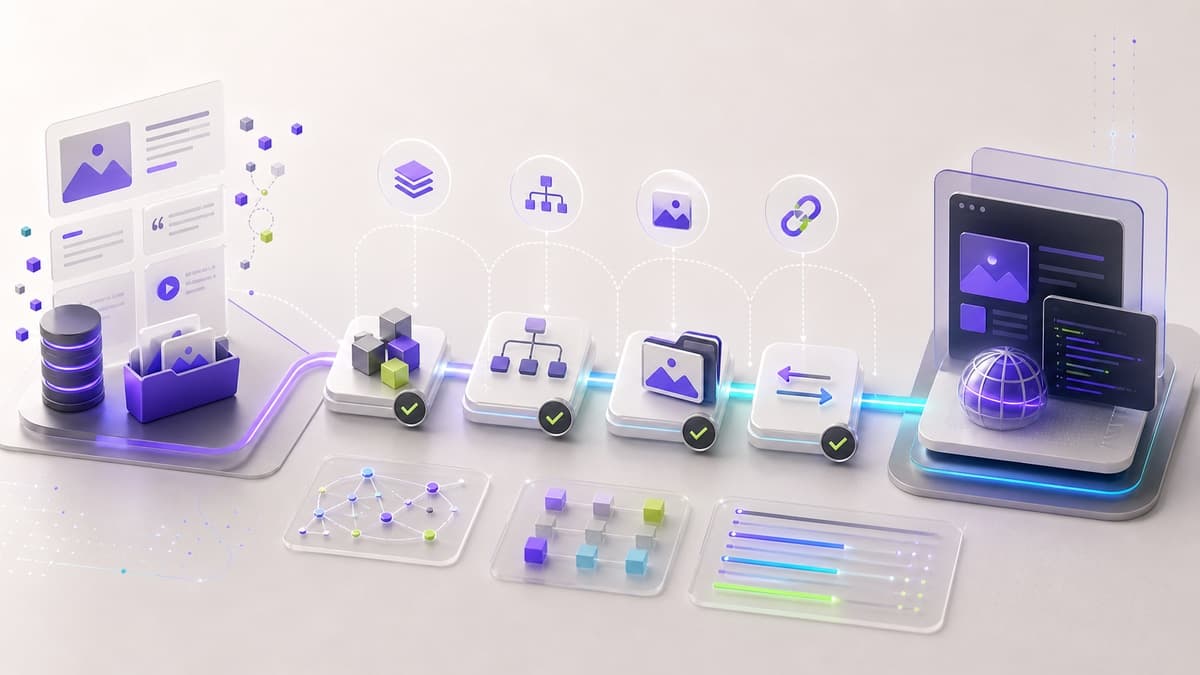
Content Migration Workflow
Work through content types in order of SEO priority: high-traffic pages first, then blog posts, then supporting content.
- Migrate top-priority pages manually and review each one for layout accuracy and missing assets
- Write a migration script for bulk post content using the WordPress XML export and a reliable parser
- Download the full media library from WordPress and re-host images either in local public assets or a CDN bucket
- Update all internal image references in migrated content to point to the new asset paths
- Migrate custom post types to your chosen content model — verify all fields map correctly (title, slug, date, author, featured image, custom fields)
- Handle WordPress shortcodes: either strip them, replace with React components, or use a shortcode parser library
- Confirm author pages and taxonomy archive pages (categories, tags) either exist in the new site or have explicit 301 redirects
URL Redirect Strategy
This is where migrations lose SEO value when done carelessly. Every URL that existed on the WordPress site must either exist in Next.js or redirect with a 301. No exceptions.
-
Map every crawled URL from the audit to its new destination — use a spreadsheet with columns: old URL, new URL, status (301 / new page / drop)
-
Add clean, permanent redirects for simple cases such as old pages, category archives, and legacy query-based WordPress URLs
-
Use a dynamic redirect layer for query parameter patterns, locale handling, and legacy URL formats
-
Preserve the WordPress default permalink structure if possible — changing URL patterns unnecessarily costs ranking time
-
Keep the canonical host consistent, with or without the www prefix, matching whatever canonical the WordPress site used
-
Do not redirect your homepage to a sub-path
SEO Preservation Checklist
Performance gains mean nothing if organic traffic drops post-launch. Work through every item below before go-live.
- Generate per-page metadata — title, description, Open Graph tags, Twitter cards
- Set canonical URLs explicitly on every page to prevent duplicate content issues
- Migrate structured data (JSON-LD): Article schema for blog posts, LocalBusiness schema for the homepage, BreadcrumbList for inner pages
- Create a dynamic sitemap route — include all posts, pages, and taxonomy archives; exclude noindex pages
- Create a robots route — allow all crawlers, point to the sitemap URL
- Verify that every public page has one primary heading and that it matches the page intent
- Check that all internal links use the new URL structure — no lingering WordPress domain references
- Confirm that image alt text migrated correctly and is not empty on editorial images
- Test that canonical links render correctly in the page source, not just in React DevTools
Testing and Go-Live Validation
Run every check on a staging environment first. Never validate on production.
-
Deploy to a staging URL (Vercel preview deployment works well) and crawl it with Screaming Frog to surface broken links, missing redirects, and duplicate titles
-
Test all forms, payment flows, and third-party integrations end-to-end on staging
-
Run Lighthouse on the top 5 pages — LCP, CLS, and INP should all be in the green
-
Validate structured data with Google's Rich Results Test
-
Verify the sitemap renders correctly and includes all expected URLs
-
Confirm the robots file points to the correct sitemap and does not block Googlebot
-
Submit the new property to Google Search Console before DNS cutover (verify via DNS TXT record, not HTML file, so it survives the migration)
-
Check all 301 redirects with a header-only request and confirm both the status code and destination are correct
-
Set DNS TTL to 300 seconds (5 minutes) at least 48 hours before cutover to allow fast propagation
-
Perform the DNS cutover during low-traffic hours and monitor error rates in real time
Post-Launch Monitoring
The migration is not done at launch. The 30 days after go-live are as important as the 30 days before.
- Submit the new sitemap in Google Search Console immediately after DNS propagates
- Monitor Search Console daily for the first two weeks: crawl errors, index coverage drops, manual actions, and Core Web Vitals regressions
- Watch rankings for your priority keyword targets weekly for 30 days — short-term movement is common after migration, but a sustained drop after week three needs investigation
- Check Cloudflare or your CDN analytics for 404 and 5xx rates — spikes indicate missing redirects
- Set up uptime monitoring (Better Uptime, Vercel Analytics, or similar) and configure alerts for downtime longer than 60 seconds
- Review Google Analytics traffic week-over-week — session drops in the first 48 hours are often a tracking tag issue, not an SEO issue
- At the 30-day mark, compare Core Web Vitals scores against the pre-migration baseline you captured in the audit phase
If you are planning a WordPress-to-Next.js migration and want a team that understands the SEO and platform risks, see our Next.js Migration Services or use the migration planner to scope your project.
Keep the Thread Going
- Service path: Next.js Migration Services
- Related read: WordPress to Next.js Migration Lessons
- Related public work: Aerconic
- Ready to scope your own version? Start a project